As I wrote in my previous entry, we have two missions open to us that will conclude the main story line of the game. Sayla’s old enemy, Ull, is now within reach in the northern Udam homelands. Likewise, I now also have access to the hideout of Batari, the leader of the Izila and Tensay the shaman’s nemesis. I will try and deal with each of them soon, but for now I want to do some other missions.
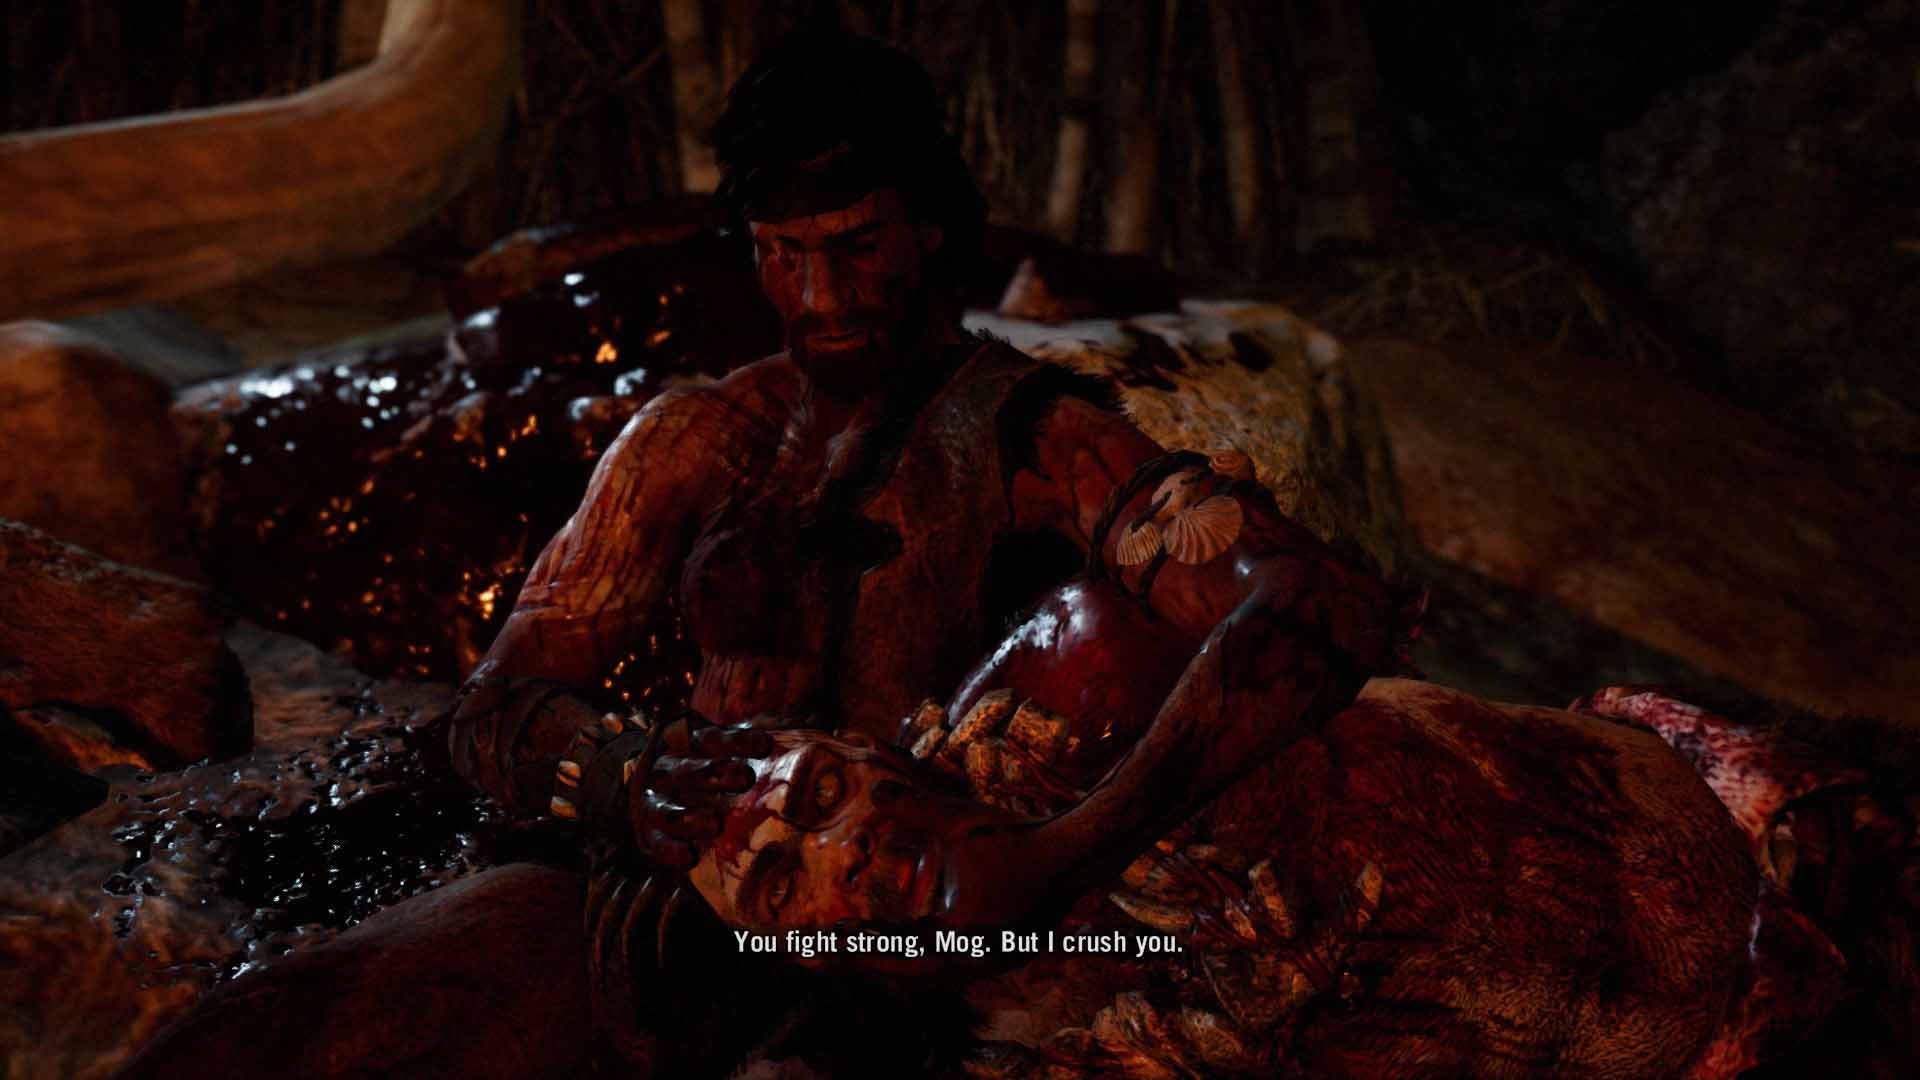
My first order of business is to go help out Karoosh, the warrior. I go to his hut, but he has disappeared. Another Wenja tells me that he went north to get even with Mog, the Udam who killed his son and took his eye. I travel north and after some searching I manage to find Karoosh inside a cave. The dead body of Mog is beside him. “Brother!” Karoosh says as I approach, “This is Mog!” He adds, “You fight strong, Mog. But I crush you.” Unfortunately, Karoosh has been hurt, but I scrounge up some medicinal leaves and he’s soon up and about again.
However, the Udam have also rallied. They are about to break down a barricade and storm the cave. I promise Karoosh to help him get out and together we stand against the onslaught of Udam. Actually, I have to admit to not paying too much attention to Karoosh the first time, and the Udam sadly managed to slay him. I did better on the second attempt, though, and before long we were outside. At that point, Karoosh told me that he’d see me back at the village and left me at my own devices.

I want to complete a few more tasks. Dah is suffering from skull fire and asks me to fetch him some bone dust from an Udam camp in the north. In order to reach it, I have to pass through an area with rot fumes. This is where Sayla’s antidote comes in handy. Unfortunately, my pet suffers greatly from the fumes and dies halfway through, with no chance for me to resurrect it. Nevertheless, I continue with my mission and manage to defeat the Udam at the camp. Searching through some huts, I eventually find the bone dust I need and return with it to the village. Naturally, Dah is pleased with the stuff.
Looking for more tasks to accomplish, Jayma the huntress challenges me to hunt down and kill four different kinds of beasts. These hunts all follow a particular pattern: I go to an area, use my special vision to track the animals and investigate clues, and eventually have to fight the beast or beasts in question. After one or two encounters, the (final) animal flees to its lair and I have to fight it there. In three out of four instances, I get to tame the creature after injuring it sufficiently. In this way, I manage to acquire three powerful versions of the bear, sabretooth tiger, and wolf for me to command in battle. I have to slay a crazed mammoth as part of the beast hunt, and later have to help a group of Wenja trap and kill a second (normal) mammoth. I like these hunts, since they also feature some team work and are evocative of the period.
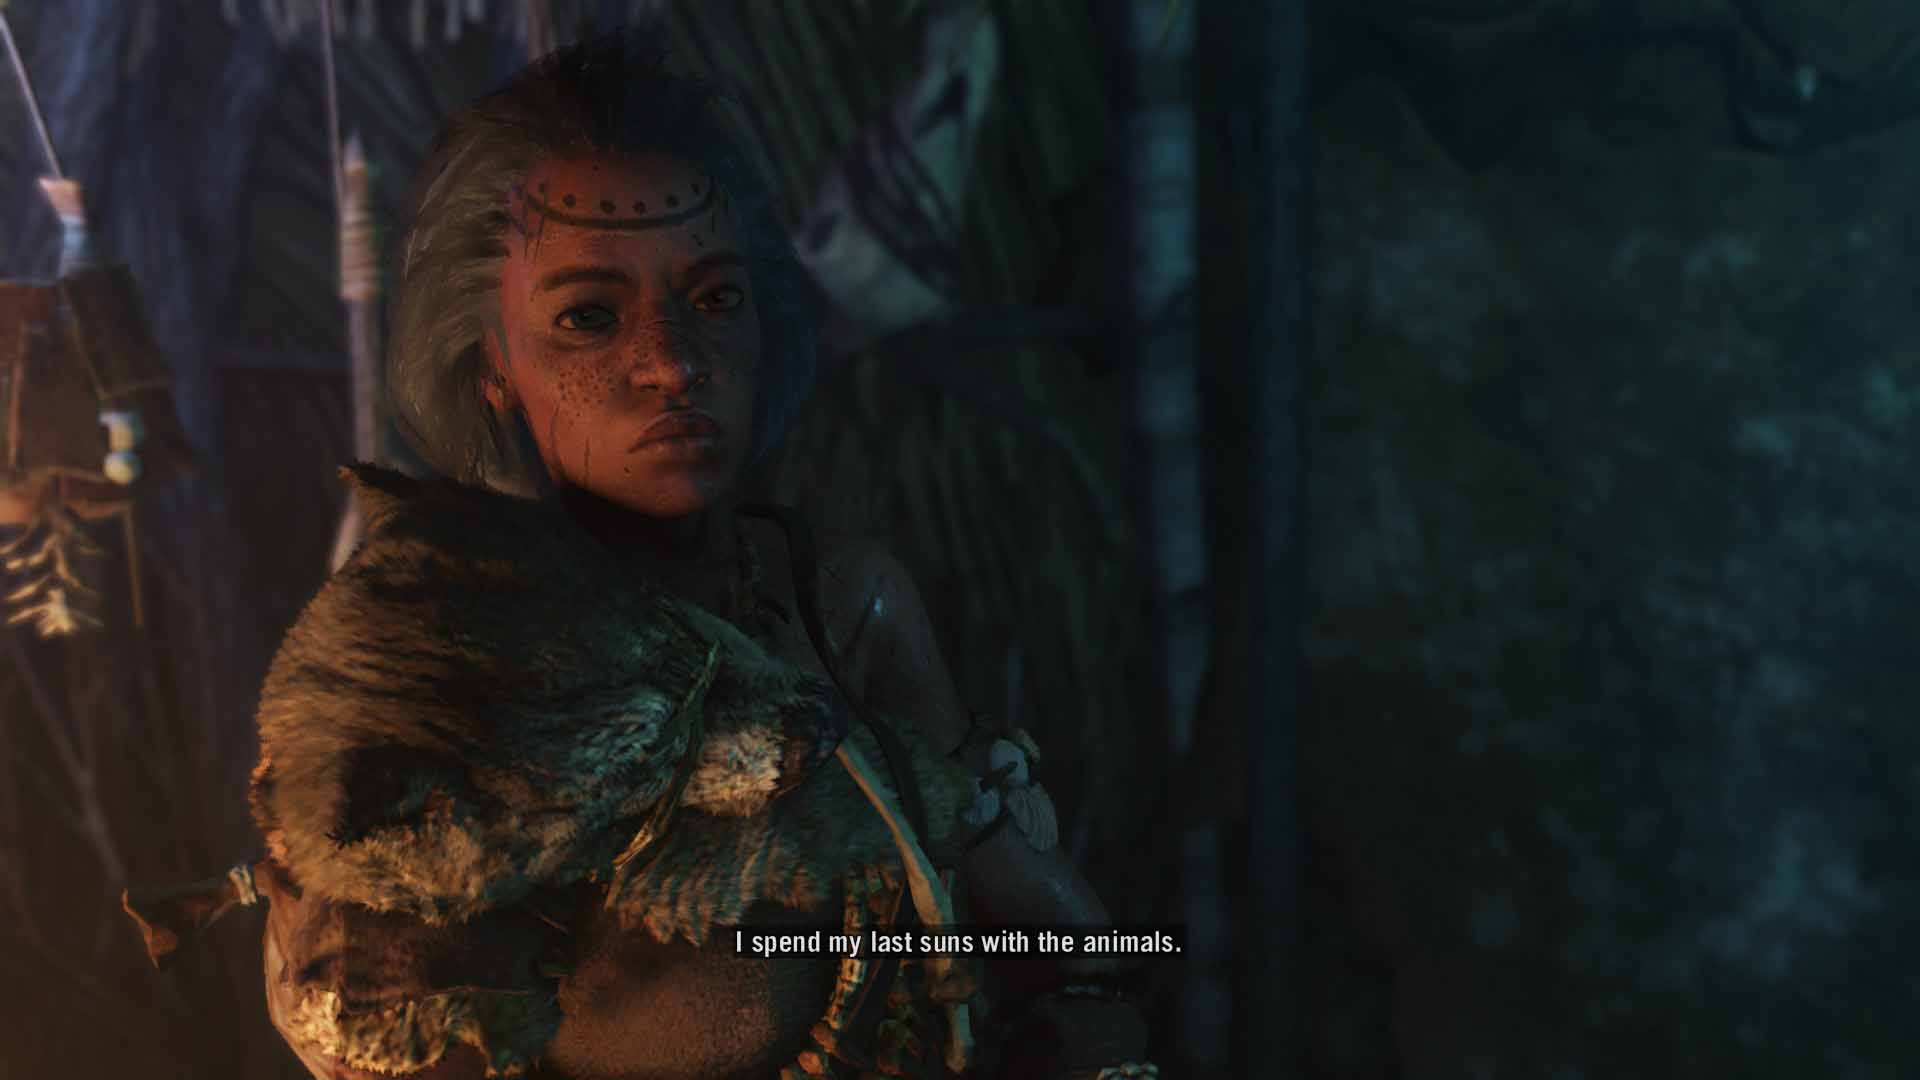
Having completed all of her quests, I return to the village and enter Jayma’s hut. “The Wenja grow strong,” she tells me. “And I grow tired.” Jayma’s grey hair suggests that she’s older than most others in the village, and her bodies certainly shows the scars of many encounters with vicious animals over the years. Despite my (Takker’s) pleas, her mind is made up: she wants to retire and spend her “last suns with the animals.” It’s an interesting idea that we’ve seen before in other media: the world-weary hunter (or warrior) decides to withdraw from society and face the final stage of their life alone. Of course, within the context of Takkar’s story, she may have simply felt superfluous in the village now that I’ve eclipsed her as a hunter.

Another icon has intrigued me for a while now and I decide to check it out. It concerns a non-specialist character called Urki. He is clearly modelled after Hurk from Far Cry 3 and serves as comic relief. He even speaks with an accent that fits the Southern US, despite the game being ostensibly set in 10,000 BC. He’s also not exactly the sharpest axe in the tool kit.
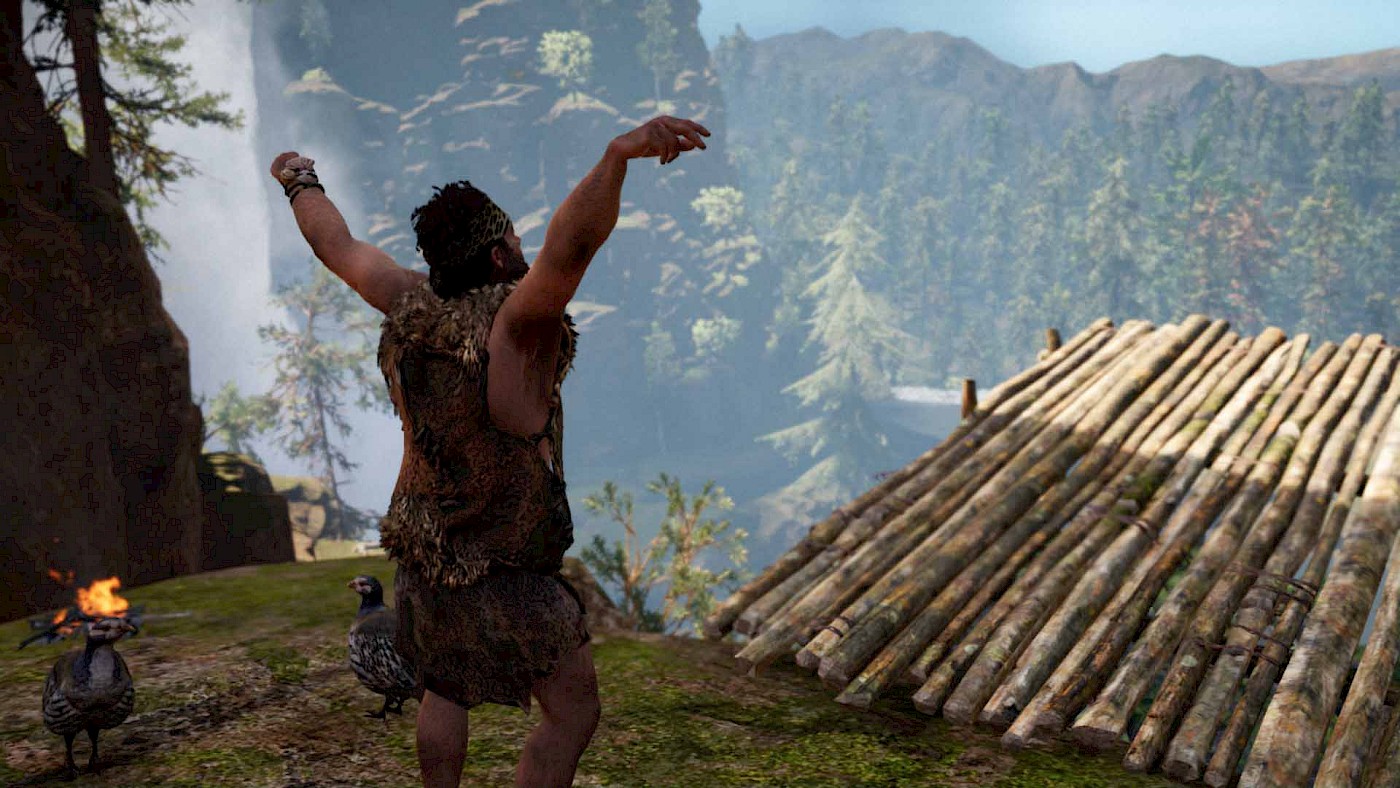
When I enter his hut, he tells me that he wants to fly, like a bird. I have to go out and collect a number of different items, including the head of a bitefish, the shell of a tortoise, and the feathers of two different birds. Dutifully, I go out and collect the items needed in the area that has been highlighted on my map. With my mission done, Urki has relocated to the top of a tall cliff. I hand in the stuff that I’ve collected and Urki tells me to go to a rocky hill at some distance to watch him fly. I observe as he runs towards off a small platform at the edge of the cliff and then plummets to the ground. Fortunately, a collection of hay breaks his fall. (This is the same publisher as the Assassin’s Creed games, after all!)
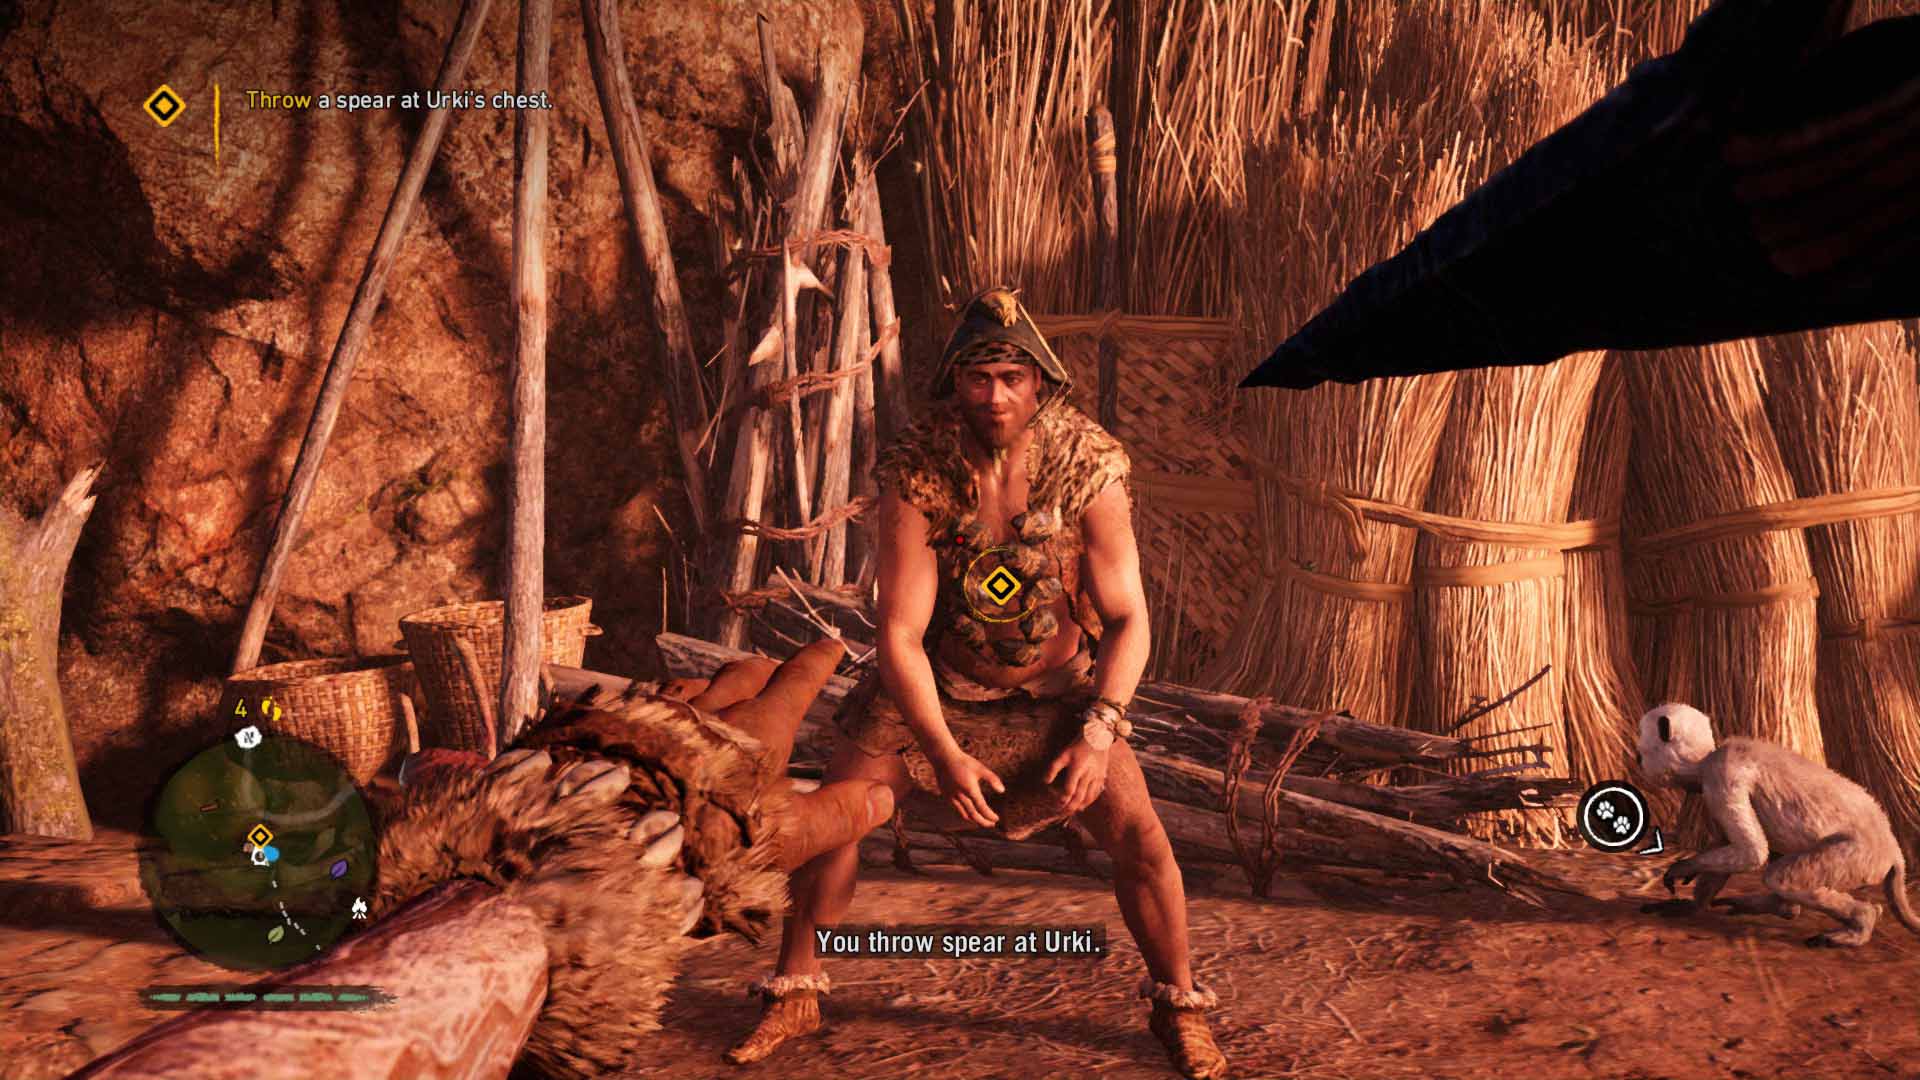
I leave Urki behind, in pain but alive, and perform some other missions. I return later and point out that he has a spear stuck in his abdomen. I remove it and he thanks me; he was stabbed in an altercation with some Udam. The solution, he believes, is to make stone armour. He sends me to an Izila camp where I kill the hostiles and collect three stones. When I hand them in, Urki attaches them to his body and then invites me to throw a spear at him. I do so and the weapon plunges deep into Urki’s flesh. He moans in pain, but he’s not dead. Like I said: he’s a comic relief character. And I’m leaving the third mission for you to discover for yourself.

The final batch of missions that I have to complete concern Roshani, the captured Izila commander. I approach him in his cage and he asks me to build him a hut. Like Dah, he clearly isn’t going anywhere. Since I have the needed resources anyway, I comply. The Izila have made a start with farming, as explained earlier, and Roshani recommends that I go to a Izila “proving grounds” and steal three bags of seeds there so that we can use it for ourselves. I head out the location marked on the map and resistance is limited: I have no trouble to acquiring the bags.
After returning to the village, Roshani tells me that the Izila have taken a Wenja hunter and are preparing to sacrifice him at the circle of stones that I explored in one of the earlier installments of this series. He gives me directions and I go there, fighting the Izila and killing the priestesses who want to kill their victim. When everyone is dead, I approach the victim and untie him: mission accomplished! But there’s more to do, of course. There’s an Izila camp that needs to be taught a lesson: I have to go there and set fire to it. I will, but not right now. There’s other, more urgent matters to the attend.
At this point of the game, I am quite far along. I have unlocked all of the huts in the village and also upgraded them to the maximum level. The latter isn’t hard to do: the amount of resources you collect as you proceed through the game seem to increase exponentially. Every outpost you claim, every bonfire you light, and every mission you fulfil, increases the resource rewards. And with most of the side missions now also completed, it’s time to head north again, to face Ull and defeat him once and for all.
